This manual provides a comprehensive guide for installing and configuring the Honeywell TH4210U2002 T4 Pro Programmable Thermostat, ensuring optimal performance and efficiency. It includes detailed instructions, maintenance tips, and troubleshooting advice, making it essential for both new and experienced users.
1.1 Overview of the TH4210U2002 Thermostat
The Honeywell TH4210U2002 is a T4 Pro Programmable Thermostat designed for efficient temperature control. It features a user-friendly interface, programmable modes, and compatibility with various HVAC systems. The thermostat includes advanced features like energy-saving options and on-screen installation guidance. With its universal mounting system, it ensures easy installation and adaptability to different wall types. The device supports both conventional and heat pump systems, making it versatile for diverse heating and cooling needs. Its sleek design and intuitive controls provide a seamless experience for users aiming to optimize comfort and energy efficiency in their homes.
1.2 Importance of Proper Installation
Proper installation of the Honeywell TH4210U2002 thermostat is critical to ensure optimal performance, efficiency, and safety. Incorrect installation can lead to system malfunctions, inconsistent temperature control, or even safety hazards. Following the manual’s guidelines guarantees correct functionality, energy efficiency, and compatibility with your HVAC system. It also prevents potential issues like wiring errors or improper mounting, which could result in costly repairs or reduced thermostat lifespan. Adhering to the installation steps ensures reliable operation and maximizes the thermostat’s advanced features, providing a seamless and efficient heating or cooling experience for your home.
Package Contents
The Honeywell TH4210U2002 package includes the T4 Pro Thermostat, UWP Mounting System, Honeywell Standard Installation Adapter, Decorative Cover Plate, 2 AA batteries, and installation instructions.
- T4 Pro Thermostat
- UWP Mounting System
- Honeywell Standard Installation Adapter
- Decorative Cover Plate
- Batteries and Accessories
2.1 T4 Pro Thermostat
The T4 Pro Thermostat is the core component of the Honeywell TH4210U2002 system. It offers programmable functionality, allowing users to set temperature schedules and optimize energy usage. The thermostat features a user-friendly interface with on-screen menus to guide installation and configuration. It supports both conventional heating/cooling systems and heat pumps, ensuring compatibility with various HVAC setups. The T4 Pro is known for its reliability and ease of use, making it a popular choice for homeowners seeking precise temperature control. Proper installation is essential to ensure its performance and efficiency.
2.2 UWP Mounting System
The UWP Mounting System is a universal wall plate designed for secure and efficient installation of the Honeywell TH4210U2002 thermostat. It includes pre-drilled holes and wall anchors for easy leveling and mounting. The system ensures proper alignment, eliminating the need for additional tools. It is compatible with various wall types and provides a sleek, professional appearance. The UWP Mounting System is a key component that streamlines the installation process, ensuring a stable and secure base for the thermostat. Follow the provided instructions to correctly position and fasten the system to the wall for optimal functionality.
2.3 Honeywell Standard Installation Adapter
The Honeywell Standard Installation Adapter, also known as the J-box adapter, is included in the package to ensure compatibility with various HVAC systems. It simplifies the installation process by providing a secure connection between the thermostat and the existing wiring setup. This adapter supports both conventional and heat pump systems, ensuring flexibility. It is designed to fit seamlessly with the UWP Mounting System and is essential for maintaining proper electrical connections. Follow the manual’s guidelines to correctly install and configure the adapter for reliable thermostat performance and optimal system control.
2.4 Decorative Cover Plate
The Decorative Cover Plate is an optional accessory included in the package to enhance the thermostat’s appearance. It provides a clean, finished look by covering any markings or holes on the wall, ensuring a sleek installation. Made from durable materials, the cover plate is easy to install and aligns perfectly with the UWP Mounting System. Its compact size (4-49/64 in x 4-49/64 in x 11/32 in) ensures it blends seamlessly with most wall styles. Use the provided screws to secure it in place, adding a polished touch to your Honeywell TH4210U2002 thermostat setup without requiring additional tools or expertise.
2.5 Batteries and Accessories
The Honeywell TH4210U2002 package includes 2 AA batteries to power the thermostat. Fresh batteries ensure optimal performance and prevent system malfunctions. Replace batteries annually or when the low battery icon appears, typically two months before depletion. Install batteries correctly to maintain settings and functionality. Additional accessories like screws, wall anchors, and the installation guide are provided for a seamless setup. These components ensure the thermostat operates efficiently and adheres to installation requirements, making the process user-friendly and straightforward. Proper battery maintenance is crucial for consistent thermostat operation and energy management.
Pre-Installation Requirements
Ensure power is turned off at the breaker box before starting. Verify system compatibility and prepare the wall for mounting. Follow all safety guidelines carefully.
3.1 Power Options
The Honeywell TH4210U2002 thermostat supports both battery-powered and hardwired power options. For battery power, use fresh AA alkaline batteries, ensuring they are inserted correctly. Hardwired systems require a 20-30 VAC power supply. Before installation, turn off power at the breaker box to ensure safety. Verify compatibility with your HVAC system, whether it’s conventional forced air, hydronics, or heat pumps. Proper power setup is crucial for reliable operation and to prevent damage to the thermostat or heating/cooling system.
3.2 System Compatibility Check
Ensure the Honeywell TH4210U2002 is compatible with your HVAC system. It supports conventional forced air, hydronics, and heat pumps with auxiliary heat. Verify voltage requirements (20-30 VAC) and amperage ratings (0.02-1 A for heat/cool, 0.02-0.05 A for fan). Compatible with single-stage heating and cooling systems. For heat pumps, ensure the thermostat controls auxiliary heat if required. Check system specifications to confirm compatibility before installation to avoid operational issues and ensure proper functionality. Proper system matching is essential for optimal performance and energy efficiency.
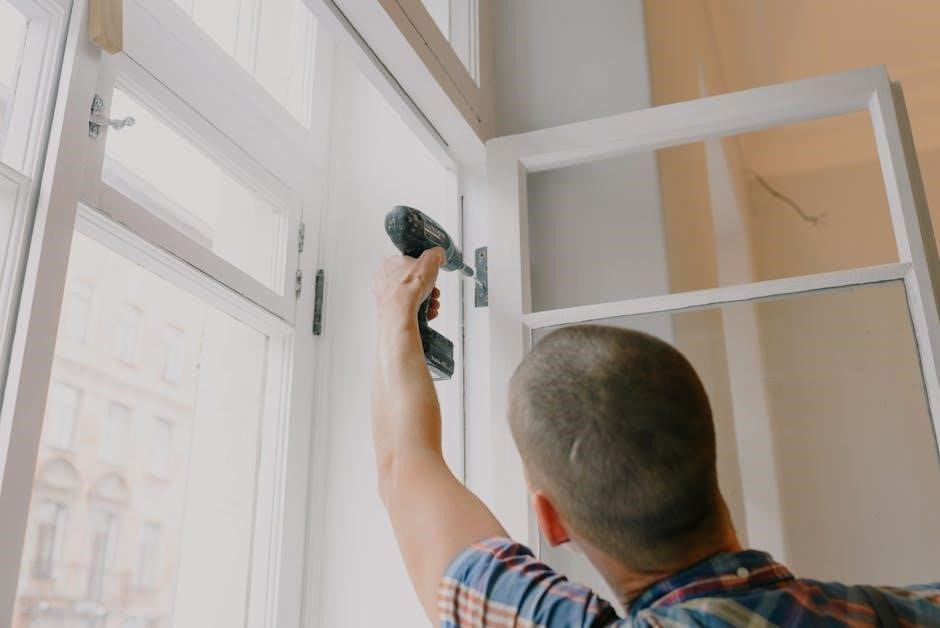
UWP Mounting System Installation
Mount the UWP by turning off power, positioning it on the wall, leveling, and marking hole locations. Drill holes, secure with anchors, and attach using screws.
4;1 Preparing the Wall
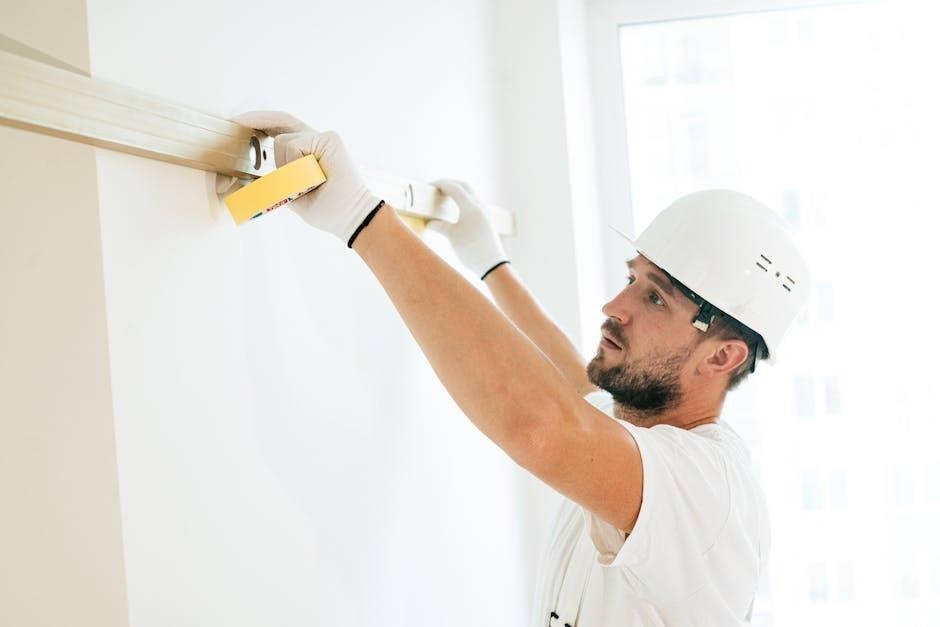
Before installing the UWP Mounting System, ensure the wall area is clean and dry. Turn off the power supply at the breaker box. Position the UWP on the wall, ensuring it is level. Use a pencil to mark the hole locations for anchors. Check for studs if necessary to ensure secure mounting. Drill pilot holes at the marked positions and gently tap the supplied wall anchors into place. This step ensures a stable base for the thermostat mounting system, preventing any installation issues later on. Proper wall preparation is crucial for a safe and efficient setup.
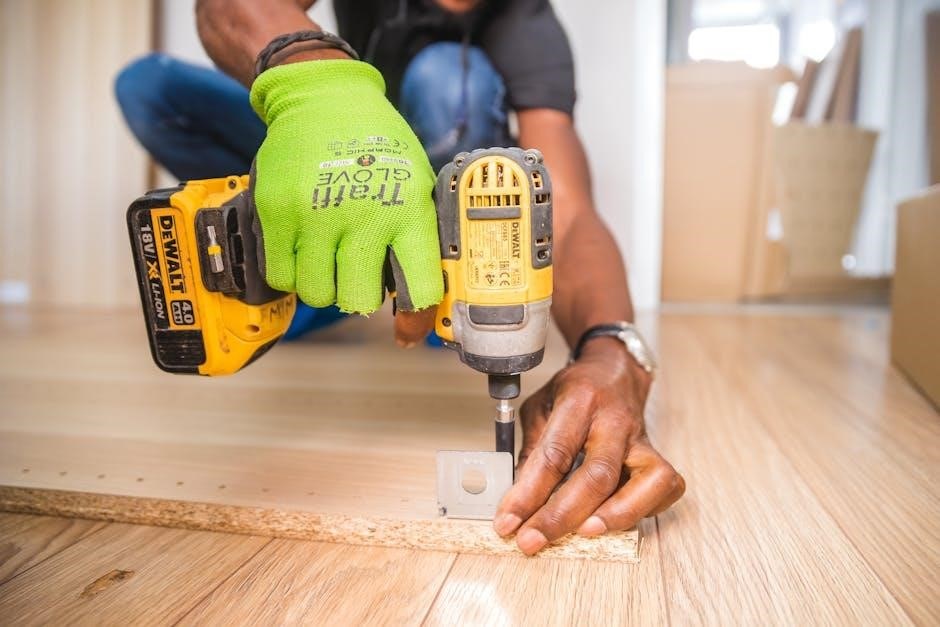
4.2 Drilling Holes and Securing Anchors
Once the wall is prepared, use a drill bit to create holes at the marked locations. Insert the supplied wall anchors into these holes, ensuring they are seated firmly. For drywall, plastic anchors are recommended to prevent the screws from loosening over time. For concrete or brick walls, use appropriate screws or anchors to ensure durability. After securing the anchors, check that the UWP mounting system fits snugly without any wobble. Properly securing the anchors ensures a stable base for the thermostat, preventing any future issues with the installation. This step is critical for maintaining the integrity of the setup.
4.3 Mounting the UWP
Align the UWP with the wall anchors, ensuring it is level. Secure the UWP using the provided screws, tightening them firmly to prevent any movement. Make sure the UWP is evenly mounted and the surface is flush with the wall. Once installed, double-check that the UWP is level and securely fastened. This step ensures a stable foundation for the thermostat. After mounting, proceed to attach the thermostat to the UWP. Always turn off the power at the breaker before starting the installation to avoid any electrical hazards. The UWP’s design allows for easy alignment and secure mounting, ensuring a professional finish.
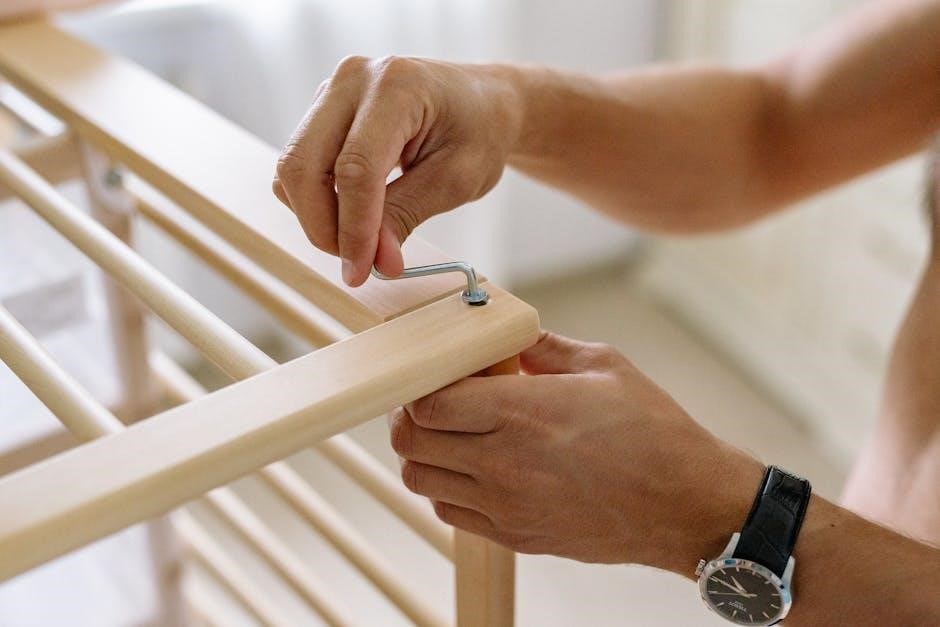
Thermostat Mounting
Attach the thermostat to the UWP, ensuring proper alignment and a snug fit. Secure it firmly to ensure stability and proper functionality. No additional tools are required.
5.1 Attaching the Thermostat to the UWP
Align the thermostat with the UWP, ensuring the tabs on the thermostat match the corresponding slots on the mounting system. Gently push the thermostat onto the UWP until it clicks securely into place. Verify that the thermostat is level and properly seated. Do not force the thermostat onto the UWP, as this could damage the mounting system or the thermostat itself. Once attached, ensure all connections are stable and the thermostat is ready for wiring. Turn the power off at the breaker before proceeding with any electrical connections.
5.2 Optional Cover Plate Installation
The decorative cover plate is designed to enhance the appearance of your thermostat. To install it, first remove the thermostat from the UWP by gently pulling it straight off. Align the cover plate with the UWP, ensuring the tabs on the plate match the corresponding slots. Snap the cover plate securely into place until it clicks. The cover plate should fit flush with the wall, concealing any gaps or uneven areas. Ensure the plate is properly seated to maintain a seamless look. The cover plate does not affect the thermostat’s functionality and can be removed at any time for access to the UWP or wiring.
Wiring the Thermostat
Proper wiring is crucial for functionality. Identify terminals, connect wires according to the system type, and test the configuration to ensure correct operation and safety.
6.1 Understanding Wiring Terminals
The Honeywell TH4210U2002 features labeled terminals for easy identification. Common terminals include R (24V power), W (heating), Y (cooling), G (fan), and C (common). Ensure correct wire connections to avoid system malfunctions. Refer to the wiring diagram in the manual for specific configurations based on your HVAC system type, such as conventional forced air or heat pumps. Proper terminal connections are essential for safe and efficient thermostat operation.
6.2 Connecting Wires to the Thermostat
When connecting wires to the Honeywell TH4210U2002, ensure the power is off at the breaker. Match each wire to the corresponding terminal on the thermostat, using the wiring diagram as a guide. Secure the wires firmly with a screwdriver. For systems requiring a common wire, connect it to the C terminal. If your system lacks a C wire, the RC or XC terminals can be used. Double-check connections to avoid errors. Proper wiring ensures reliable operation of heating, cooling, and fan functions. Refer to the manual for system-specific configurations.
6.3 Testing the Wiring Configuration
After connecting the wires, restore power to the system. Turn the thermostat on and check if the display lights up. Navigate through the menu to test heating, cooling, and fan modes. Listen for clicks from the system relays and ensure the corresponding equipment activates. Verify the display shows the correct mode and temperature adjustments. If the system does not respond, check for loose connections or incorrect wiring. Refer to the wiring diagram in the manual for validation. If issues persist, consult the troubleshooting section. Proper testing ensures the thermostat operates efficiently and accurately controls your HVAC system. Always double-check connections to avoid errors. Ensure all settings are configured correctly before final operation.
Installer Setup (ISU)
Access the Installer Setup Menu by pressing and holding the Menu and buttons for 5 seconds. Configure advanced settings like heat pump options and system preferences to optimize performance.
7.1 Accessing the Installer Setup Menu
To access the Installer Setup Menu on the Honeywell TH4210U2002, press and hold the Menu and + buttons simultaneously for approximately 5 seconds. This will unlock the advanced settings menu, allowing you to configure system-specific options such as heat pump settings, fan operation, and temperature limits. The ISU menu is essential for fine-tuning the thermostat to match your HVAC system’s requirements. Ensure all changes are saved before exiting to maintain proper system functionality. Consult the manual for detailed instructions on navigating and adjusting these settings safely and effectively.
7.2 Configuring System Settings
Once in the Installer Setup Menu (ISU), use the Select button to navigate through system settings. Configure options like heat pump settings, fan operation, and temperature limits. Use the Plus and Minus buttons to adjust values. Ensure settings match your HVAC system’s specifications. After configuring, press Done to save changes. If no changes are saved within 30 seconds, the thermostat will exit the menu automatically. Proper configuration ensures optimal performance and compatibility with your heating and cooling system. Refer to the manual for detailed parameter descriptions and recommended settings.
System Operation Settings
This section covers configuring temperature settings, scheduling options, and fan control to optimize your HVAC system’s performance. Adjust settings to match your comfort preferences and energy needs.
8.1 Setting the Temperature
The Honeywell TH4210U2002 allows precise temperature control. Use the touchscreen interface to set desired temperatures for heating and cooling modes. Adjust the setpoint by pressing the up or down arrows. Ensure the temperature range is within the system’s capabilities. For optimal comfort, set a consistent temperature when home and adjust when away. Use the programmable modes to automate temperature changes, saving energy and maintaining comfort. Always confirm temperature settings to avoid unnecessary system cycles. Proper temperature setup ensures efficient HVAC operation and energy savings. Follow on-screen prompts for accurate configuration.
8.2 Configuring Schedules
The Honeywell TH4210U2002 allows you to create custom temperature schedules to suit your daily routine. Use the touchscreen interface to set temperature preferences for different times of the day. Program schedules for weekdays, weekends, or specific periods. Choose from pre-set templates or customize your own. Set temperature adjustments to occur automatically, ensuring energy efficiency. For example, lower the temperature when the house is empty or at night. Use the “Hold” feature to override schedules temporarily. Ensure schedules align with your lifestyle for optimal comfort and energy savings. Regularly review and update schedules as needed for best performance.
8.3 Adjusting Fan Settings
The Honeywell TH4210U2002 thermostat allows you to adjust fan settings to optimize air circulation and energy efficiency. Use the touchscreen interface to select from fan modes such as “Auto,” “On,” or “Circulate.” The “Auto” mode operates the fan only during heating or cooling cycles, while “On” keeps the fan running continuously. The “Circulate” mode cycles the fan periodically to maintain consistent air distribution. Adjust these settings based on your comfort preferences or energy-saving goals. Ensure proper fan operation by checking and cleaning the air filter regularly. This feature helps maintain indoor air quality and system efficiency year-round.

Advanced Features
The Honeywell TH4210U2002 offers programmable modes and energy-saving options, enabling customized temperature control and energy efficiency. These features enhance comfort while reducing energy consumption effectively.
9.1 Programmable Modes
The Honeywell TH4210U2002 thermostat features programmable modes that allow users to set custom temperature schedules. These modes include options for heating and cooling, enabling precise control over your home’s climate. By programming different settings for weekdays and weekends, users can optimize energy usage and maintain comfort. The thermostat’s on-screen menu guides users through the programming process, making it easy to configure schedules. This feature ensures that your system operates efficiently, providing the right temperature at the right time without unnecessary energy waste.
9.2 Energy-Saving Options
The Honeywell TH4210U2002 thermostat offers advanced energy-saving features to reduce consumption while maintaining comfort. These include smart recovery, which learns your system’s operation to preheat or cool efficiently, and energy usage reports to track your savings. The thermostat also supports geofencing and adaptive learning, adjusting settings based on your schedule and preferences. Additionally, it provides energy-saving modes that optimize performance during peak times. These features ensure your system runs efficiently, helping you save on energy costs without sacrificing comfort.
Troubleshooting Common Issues
Address common issues like no power, inconsistent readings, or display malfunctions by checking power sources, wiring connections, and system compatibility. Refer to the manual for solutions.
10.1 No Power to the Thermostat
If the thermostat displays no power, ensure the power switch at the breaker box is on and the circuit breaker hasn’t tripped. Verify that fresh AA alkaline batteries are correctly installed, as indicated in the manual. If using a hardwired power source, check all wiring connections for integrity and ensure they match the system’s compatibility.Consult the troubleshooting section for additional guidance to restore functionality and avoid further issues.
10.2 Inconsistent Temperature Readings
Inconsistent temperature readings may occur due to a faulty sensor or improper calibration. Ensure the thermostat is clean and free from dust, as debris can interfere with accuracy. Check that the thermostat is mounted level and in a location representative of the room’s average temperature. If issues persist, recalibrate the thermostat by following the on-screen menu instructions. Verify that the system is operating correctly and that no external factors, such as direct sunlight, are affecting the sensor. Refer to the troubleshooting section for additional calibration guidance to resolve the issue effectively.
10.3 Display Malfunction
A display malfunction may result in a blank or flickering screen, or incorrect information being shown. First, ensure the thermostat has power by checking the batteries or wiring connections. Restart the device by removing and reinserting the batteries or resetting the system. If the issue persists, clean the screen gently with a soft cloth to remove dirt or smudges. Verify that all internal settings are correctly configured and that no software updates are pending. If the display remains unresponsive, contact Honeywell customer support for further assistance or potential replacement options to resolve the issue promptly.
Maintenance Tips
Regularly replace batteries, clean the thermostat with a soft cloth, and update software to ensure optimal performance and extend the product’s lifespan effectively.
11.1 Replacing Batteries
Replace batteries promptly when the low battery icon appears, typically two months before depletion. Use fresh AA alkaline batteries for reliable performance. Insert batteries within two minutes of removal to retain thermostat settings. If delayed, settings may reset, requiring reconfiguration. Regular battery replacement ensures continuous operation, especially during extended absences. Clean battery terminals before installing new ones to maintain proper connectivity. This simple maintenance step prevents unexpected system issues and ensures your thermostat operates efficiently year-round.
11.2 Cleaning the Thermostat
Regularly clean the thermostat to ensure accurate temperature readings and optimal performance. Power off the device before cleaning. Use a soft, dry cloth to gently wipe the display and exterior surfaces. Avoid harsh chemicals, abrasive materials, or liquids, as they may damage the thermostat. For stubborn dust or debris, lightly dampen the cloth with water, but ensure no moisture enters the unit. Cleaning prevents dust buildup, which can interfere with temperature sensing and operational efficiency. This simple maintenance step helps maintain reliability and extends the lifespan of your Honeywell TH4210U2002 thermostat.
11.3 Updating Software
Keeping your Honeywell TH4210U2002 thermostat’s software up to date ensures optimal performance and access to the latest features. Periodically check for software updates through the installer setup menu. To update, press and hold the Menu and buttons for 5 seconds to access the advanced menu, then navigate to System Setup (ISU). Follow on-screen instructions to download and install updates. Ensure the thermostat is connected to a power source during the update process. Regular software updates improve functionality, fix bugs, and enhance energy-saving capabilities, ensuring your thermostat operates efficiently and securely. Always refer to the manual for detailed update instructions.
Thank you for following the Honeywell TH4210U2002 installation manual. Proper installation ensures optimal performance, energy efficiency, and reliable operation of your programmable thermostat.
12.1 Final Checks
After completing the installation, perform a final check to ensure everything is functioning correctly. Restore power to the system and test the thermostat by adjusting the temperature. Verify that the heating or cooling system responds appropriately. Check all wire connections for security and ensure no loose ends. Confirm that the batteries are installed correctly if applicable. Review the programmed schedules and settings to match your preferences. Ensure the display is clear and all buttons are responsive. If any issues arise, refer to the troubleshooting section for guidance. This final verification ensures optimal performance and efficiency from your Honeywell TH4210U2002 thermostat.
12.2 Ensuring Optimal Performance
To ensure optimal performance, regularly maintain your Honeywell TH4210U2002 thermostat. Replace batteries annually or when the low-battery icon appears. Clean the thermostat’s display and sensors to prevent dust buildup, which can affect accuracy. Check and update the software periodically to benefit from the latest features and improvements. Additionally, verify that the thermostat is properly mounted and level to ensure accurate temperature readings. Schedule regular system checks to confirm that heating and cooling functions are operating smoothly. By following these steps, you can maintain your thermostat’s efficiency and extend its lifespan, ensuring reliable climate control for your home.

Additional Resources
For further assistance, visit Honeywell’s official website to download the full manual, access customer support, or explore troubleshooting guides and additional resources.
13.1 Downloading the Full Manual
The full Honeywell TH4210U2002 manual is available for download from Honeywell’s official website. This comprehensive guide includes detailed installation instructions, system operation settings, and troubleshooting tips. By accessing the manual, users can ensure proper setup and optimal performance of their thermostat. The document covers all aspects of the device, from initial installation to advanced features, providing a complete reference for both new and experienced users. Downloading the manual is highly recommended for anyone seeking to maximize the efficiency and functionality of their Honeywell T4 Pro Programmable Thermostat.
13.2 Honeywell Customer Support
Honeywell offers extensive customer support for the TH4210U2002 thermostat, ensuring users receive assistance whenever needed. Visit Honeywellhome.com/support for troubleshooting tips, installation guides, and service datasheets. Additionally, users can access FAQs and common issue resolutions, providing comprehensive aid for any queries. This support ensures smooth operation and optimal performance of the T4 Pro Programmable Thermostat, making it a reliable choice for home comfort control.